Your First Regression Model
To create your first regression model, follow these steps:
- Select your project in the Project list.
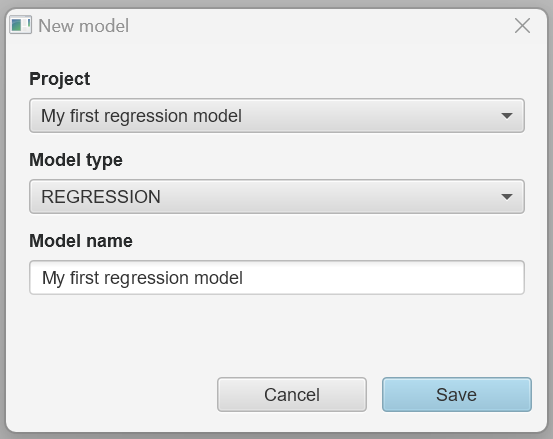
- Click on REGRESSION in the Main toolbar. This action will prompt a dialog.
- In this dialog, assign a name to your model file (e.g., My first regression model), then press the Save button.
- The Model editor will then open, allowing you to commence work on your new model.
Drawing the Regression Model
Construct Creation
To create constructs in the model:
- Choose indicators from the Indicators list on the left.
- Drag and drop the indicator that will become the dependent variable in the regression model onto the Modeling canvas on the right.
- Next, drag and drop the indicators that will become the independent variables in the regression model onto the dependent variable in the Modeling canvas on the right.
In this regression model example, drag and drop cusa to create the dependent variable. Then, drag and drop the independent variables qual_1 to qual_8 onto the dependent variable (i.e., cusa) in the Modeling canvas on the right.
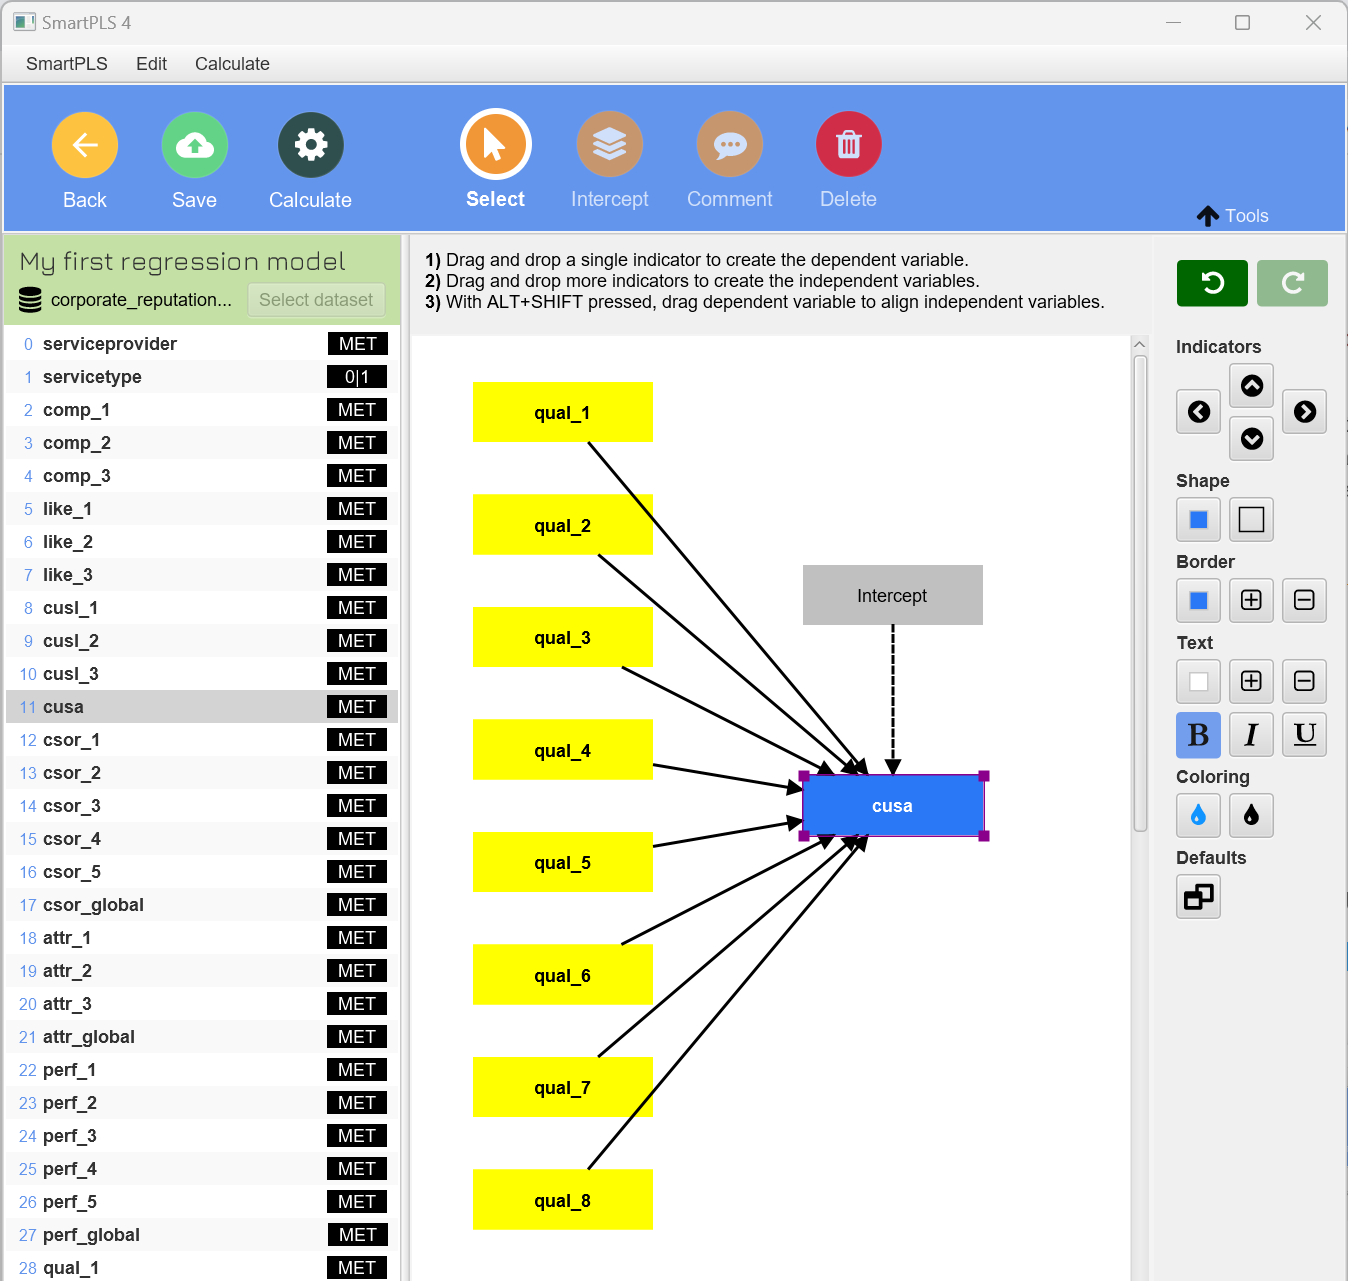
You have various options for aligning your indicators on the Modeling canvas:
- Drag elements around.
- Select elements and use the alignment actions in the toolbar on the right.
- Right-click on the dependent variable to access additional actions, such as Align the indicators.
- With ALT + SHIFT pressed, click on the dependent variable and then drag to align the indicators.
- Double-click the dependent variable to open a dialog with more settings.
When specified (i.e., in the graphical regression model), an intercept is included in the model estimation. To estimate a regression model without an intercept in SmartPLS, the intercept must be removed from the graphical specification of the regression model (i.e., select the intecept in the graphic and delete it).
Estimating the Model and Accessing Results
After constructing your model, it's time to estimate the results using the regression analysis.
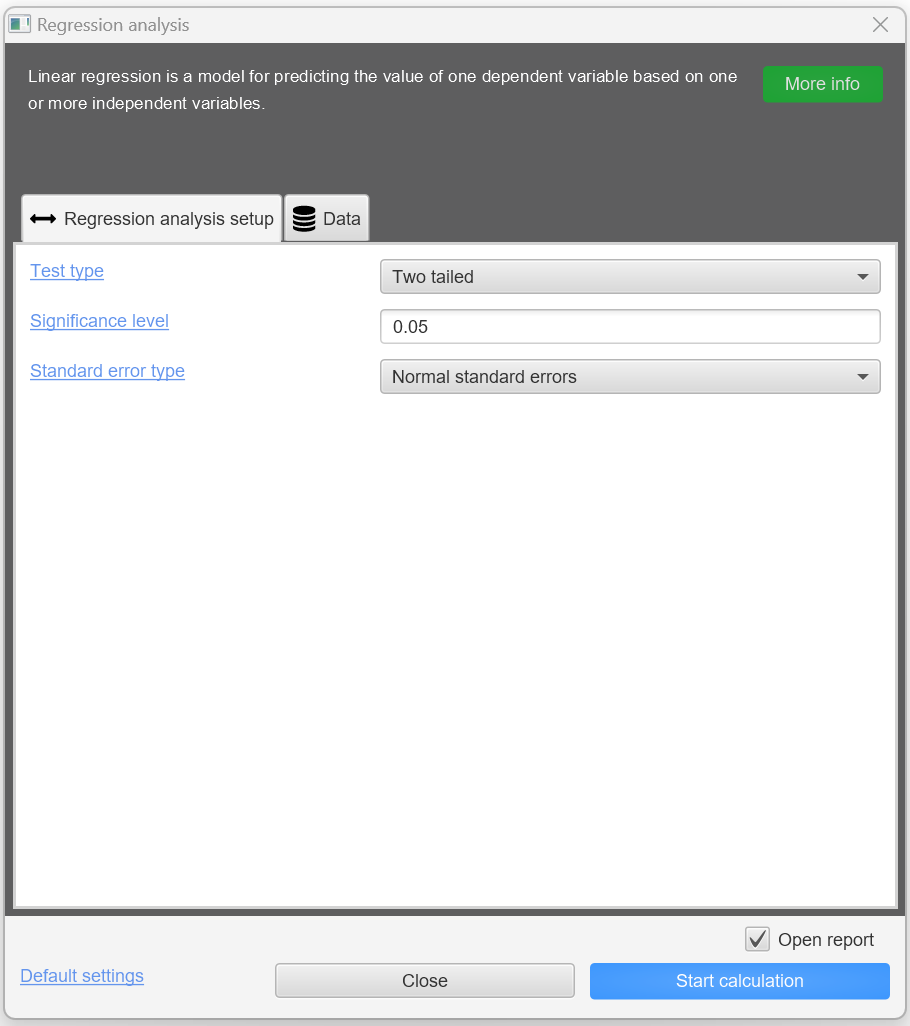
- Click the Calculate button in the Main toolbar.
- Choose the Regression analysis option from the list of available algorithms.
- The algorithm dialog will open; you can leave the default settings unchanged.
- Ensure the Open report checkbox is selected.
- Click Start calculation.
- The Results view will automatically open once calculations are complete.
Analyzing the Results
The Report navigation on the left side allows you to navigate various regression results. These results, provided by the SmartPLS 4 software, offer a comprehensive evaluation of the model, as discussed, for example, in the textbooks by Hair et al. (2018) and Sarstedt and Mooi (2019).
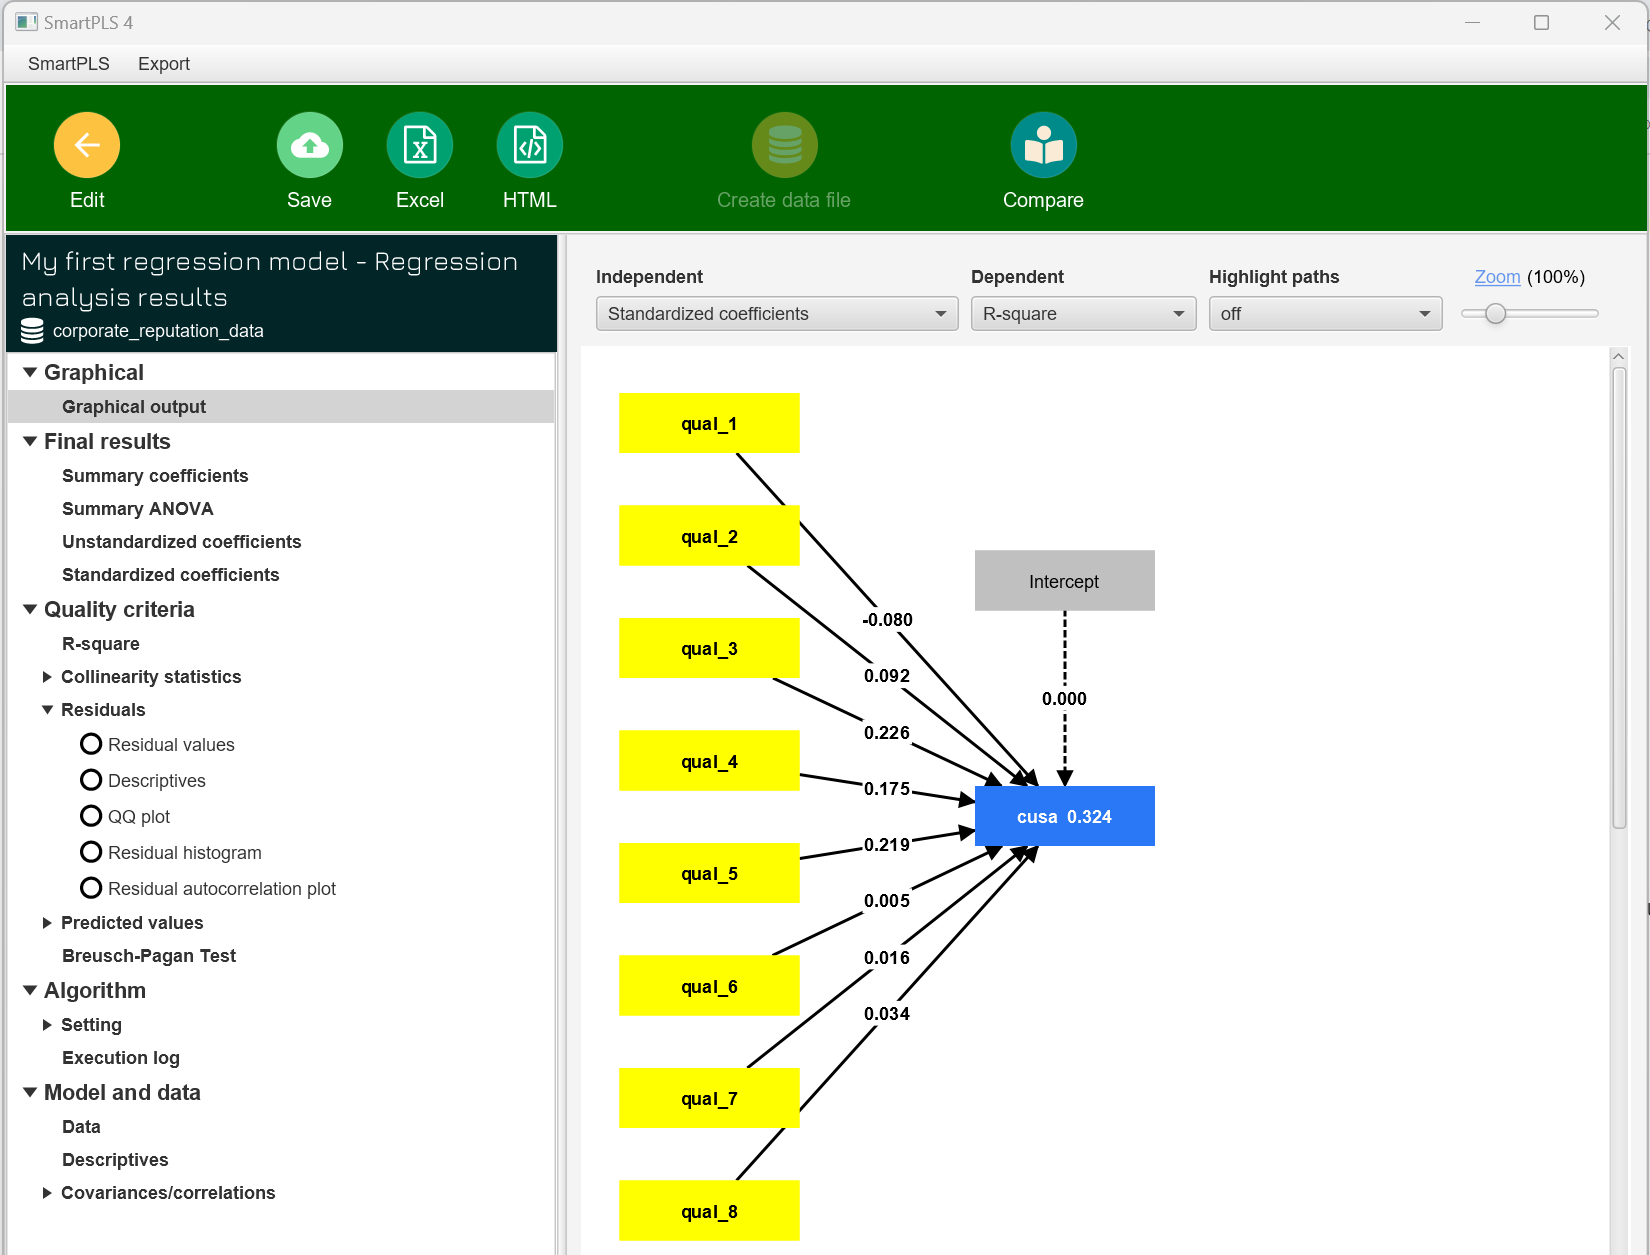
You can save the report to your project for later use or export it to Excel or HTML for sharing with others.
What’s Next?
Congratulations on creating and estimating your first regression model in SmartPLS! To learn more about the process of creating and evaluating regression models, we recommend exploring the textbooks by Hair et al. (2018) and Sarstedt and Mooi (2019) and working through the step-by-step regression model example case study. These regression model examples are available as ready-to-run sample regression projects in SmartPLS.
References
Hair, J.F., Black, W.C., Babin, B.J., and Anderson, R.E. (2018). Multivariate Data Analysis, 8th Ed., Cengage: London.
Sarstedt, M., and Mooi, E.A. (2019). A Concise Guide to Market Research: The Process, Data, and Methods Using IBM SPSS Statistics, 3rd Ed., Springer: Berlin, Heidelberg.
