Setup on-premise license server
Step 1: Download and install the licensing server and server administration GUI
Our licensing server and server administration GUI are free of charge. Please download the appropriate package and refer to the administration guide for installation instructions.
Step 2: Send hardware key to us
Once properly installed, please copy the hardware IDs of your server as described in the administration guide (page 19) and send them to sales@smartpls.com. We will then send you a license file.
Step 3: Install the license
We will provide you with a license file that you can install using the server administration GUI (License -> Install New License) - see page 17 of the administration guide.
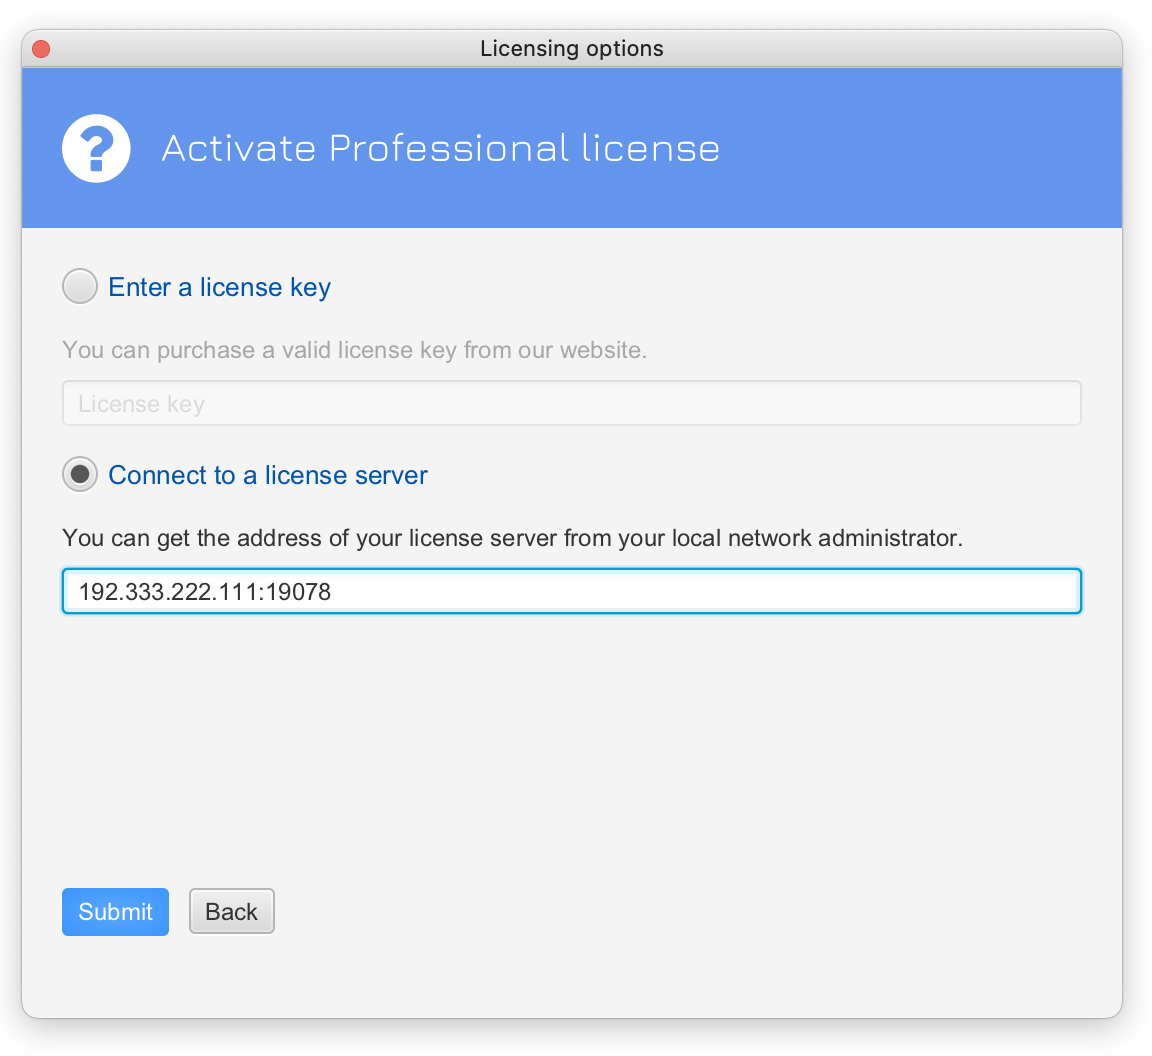
Step 4: Point SmartPLS installations to your licensing server
After installing the license we sent you, direct clients to the licensing server. In SmartPLS, have users enter the server IP address and port. The default port is 16090.

Setup for automated deployments of the SmartPLS software
To hide the licensing dialog from users (e.g., for automated deployments), set the following parameters in the SmartPLS configuration file to enforce connection to your licensing server. The default configuration file locations are:
- Windows:
c:/program files/SmartPLS 4/smartpls.vmoptions - MacOSX:
/Applications/SmartPLS 4/smartpls/(use "Show Package Contents" and navigate toContents/vmoptions.txt)
Amend the following lines to set up the connection to your server:
-DlicenseServer=192.335.212.111:16090-DlocalAdminEmail=admin@sample.org
